Beyond Basic Sweetness: Why Burnt Honey Syrup?
For too long, the home bar experience has often been defined by standard sweetness. While a classic honey simple syrup provides a fantastic, all-natural base for countless drinks, adding a simple sweetener often leaves cocktails feeling... complete, but not captivating. It's the workhorse of the bar cart, essential but rarely the star. If you're like many aspiring mixologists and flavor enthusiasts, you've likely felt that subtle yearning for something more—that elusive 'wow' factor that elevates a good drink to an unforgettable one.
The quest for this depth often leads to exotic liqueurs or complex infusions, but what if the secret lay in transforming the simplest of ingredients? The magic, as it turns out, happens when you coax new, profound flavors from humble honey. Imagine a syrup that doesn't just sweeten but adds layers of nutty, toasty, subtly smoky complexity. This isn't just about making another honey simple syrup; it's about unlocking a secret weapon: burnt honey syrup.
This remarkable ingredient originated not from meticulous bartending experiments, but from a fortunate kitchen mishap. Picture a chef, perhaps distracted, letting a honey caramel linger on the heat a moment too long. Just as despair looms, a rich, intoxicating aroma fills the air—a testament to transformation, not ruin. This moment of accidental genius revealed that by perfectly caramelizing honey to a deep amber, you don't burn it to a bitter crisp, but rather coax out an entirely new spectrum of flavors: notes of toasted nuts, dark caramel, and a subtle smokiness that add an unparalleled depth and sophistication to any drink. It’s a game-changer, fundamentally altering the flavor profile of your cocktails and turning them into true masterpieces.
The Alchemy of Caramelization: Crafting Your Liquid Gold
Making burnt honey syrup is an exercise in controlled transformation, turning basic ingredients into a rich, complex liquid. While a traditional honey simple syrup simply dissolves honey in water, this technique involves a delicate dance with heat, patience, and a keen eye.
Ingredients for Depth
- Mild Honey: Opt for a standard, mild variety like clover, wildflower, or acacia. Their neutral flavor profiles act as a blank canvas, allowing the caramelized notes to truly shine. Strongly flavored honeys, such as buckwheat or orange blossom, can compete with the deep, toasty flavors we're trying to create, resulting in a less balanced syrup.
- Water: The co-star in this show. It stops the caramelization process and forms the syrup.
- A Tiny Pinch of Salt: This is non-negotiable. Salt doesn't just balance sweetness; it sharpens and enhances the complex, toasted notes, making them pop on your palate. Think of it as a flavor amplifier, similar to how it works in a salted caramel.
Step-by-Step Mastery: From Pot to Perfection
- Initial Honey Melt: In a light-colored, heavy-bottomed saucepan (more on why pan choice matters later), combine your chosen honey and the tiny pinch of salt. Place it over medium heat. Allow the honey to slowly warm and thin out, becoming more liquid. Stir gently to ensure even heating.
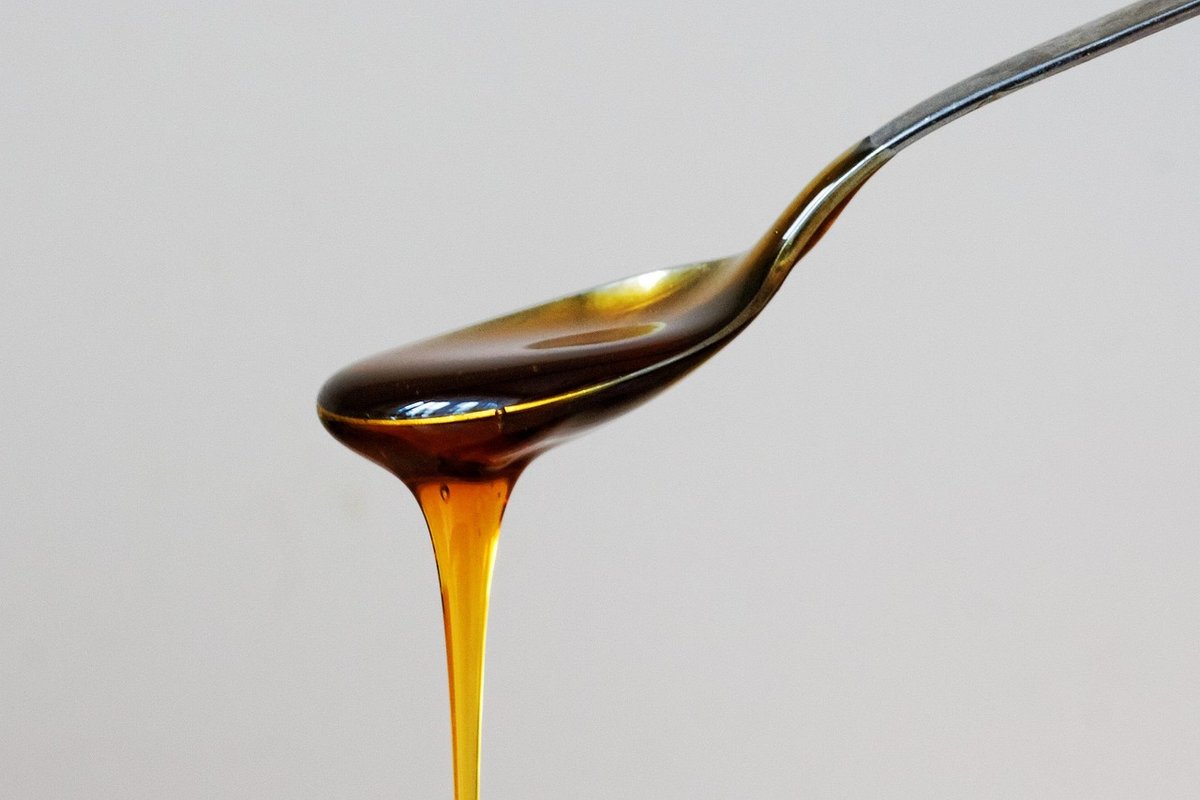
- The Crucial Caramelization Phase: This is where the magic happens, and it demands your full, undivided attention. Once the honey is fully liquid and starts to bubble gently, watch its color intently. It will gradually darken from a golden yellow to a rich amber, then to a deep, dark mahogany. This entire process typically takes only 2-3 minutes after it starts bubbling vigorously. You're looking for that sweet spot just before it turns black and acrid – a beautiful, dark amber that suggests toasted nuts and rich caramel. You might even catch a faint wisp of smoke or a nutty aroma at the perfect moment.
- Careful Water Addition: The moment you achieve that perfect deep amber color, immediately and *carefully* pour the water into the caramelized honey. Stand back, as the mixture will sizzle vigorously and produce a burst of steam. This is normal and expected. The sudden temperature change stops the caramelization process and loosens the thickened honey.
- Simmer to Consistency: Stir the mixture gently until any hardened caramel dissolves back into the liquid. Bring the syrup to a gentle boil, then reduce the heat to low and let it simmer for about 5-7 minutes. This allows the flavors to meld and the syrup to achieve a consistent, albeit thinner, texture—remember, it's a concentrate of flavor, not a super-thick traditional simple syrup.
- Cool and Store: Once simmering is complete, remove the pot from the heat and allow the burnt honey syrup to cool completely to room temperature. This is crucial for both safety and proper storage. Once cool, transfer the syrup to an airtight container or a clean glass bottle. It will keep beautifully in the refrigerator for up to 2-3 weeks, providing you with a consistent source of deep flavor.
Insider Tips for Flawless Burnt Honey Syrup
While the process sounds straightforward, mastering burnt honey syrup requires attention to detail. These insider tips will help you navigate the delicate balance between perfection and char.
The Critical Watch: Don't Look Away!
This is perhaps the single most important piece of advice. The line between 'perfectly caramelized' and 'irredeemably burnt' is incredibly fine, often just a matter of 15-30 seconds. Your full attention during those crucial 2-3 minutes of color change is paramount. Avoid distractions like checking your phone, stepping away for a moment, or even engaging in conversation. Be present, watch the color, listen to the sizzle, and trust your instincts. The moment it hits that deep amber, pull it from the heat or add the water.
Choosing Your Vessel Wisely
The pan you use makes a significant difference. Dark-colored or non-stick pans can obscure your view of the honey's changing color, making it incredibly difficult to judge when it's perfectly caramelized. Instead, opt for a light-colored, heavy-bottomed stainless steel saucepan. The heavy bottom ensures even heat distribution, preventing hot spots that can lead to uneven caramelization or scorching. The light color allows you to clearly observe the subtle shifts in the honey's hue, guiding you to that ideal deep amber.
Mastering the Heat
Start with medium heat to gently warm the honey, ensuring it melts evenly. Once it's bubbling and you're entering the caramelization phase, you might even consider slightly reducing the heat to medium-low. This gives you a little more control and a few extra seconds to react, especially if it's your first time. Don't rush it with high heat, as this significantly increases the risk of burning before you can react.
Safety First: The Water Addition
When you add water to hot, caramelized honey, it will react violently, producing a significant amount of steam and sizzling. Always stand back, wear oven mitts if you're concerned, and use a long-handled spoon for stirring. Have the water measured and ready to pour in immediately when the honey reaches the desired color. This prompt addition is key to stopping the cooking process precisely.
Unlock a World of Flavor: How to Use Burnt Honey Syrup
The beauty of burnt honey syrup lies in its versatility. It's not just a sweetener; it's a flavor enhancer that brings depth and character to a wide array of beverages and even some culinary creations.
- Elevated Cocktails: This is where burnt honey syrup truly shines. Its nutty, smoky notes are a natural partner for dark spirits like whiskey, bourbon, and aged rum. Imagine an Old Fashioned with a deep, complex sweetness, a whiskey sour with an unexpected layer of roasted flavor, or a gin cocktail that suddenly feels more autumnal and intriguing. It can transform a basic daiquiri or margarita into something truly sophisticated, contrasting beautifully with citrus and other bright flavors.
- Sophisticated Non-Alcoholic Drinks: Don't limit this liquid gold to cocktails. A drizzle into your morning coffee or a dash in an afternoon iced tea can elevate a mundane drink to a gourmet experience. Try it in homemade lemonade for a grown-up twist, offering a delightful depth that a plain honey simple syrup simply can't provide. It also pairs wonderfully with sparkling water and a slice of orange for a refreshing, complex mocktail.
- Culinary Delights: Beyond the glass, burnt honey syrup can lend its unique profile to various dishes. Use it as a glaze for roasted carrots or chicken, whisk it into salad dressings for a surprising sweet-savory note, or drizzle it over vanilla bean ice cream or Greek yogurt for an indulgent dessert. It can even be incorporated into baking recipes, adding a subtle complexity to cakes or glazes.
Unlike a neutral honey simple syrup, which provides a clean, unadulterated sweetness, burnt honey syrup brings its own distinct personality to the party. It encourages experimentation and creativity, pushing the boundaries of traditional flavor pairings.
Conclusion
Mastering burnt honey syrup is more than just learning a recipe; it's about unlocking a new dimension of flavor that can fundamentally transform your home bartending and culinary adventures. By carefully caramelizing honey to that perfect deep amber, you create a liquid gold that offers a remarkable depth, a touch of smoky-sweet complexity, and a velvety texture. It’s a testament to the idea that sometimes, the most profound flavors emerge from the simplest of ingredients, when treated with a little intention and care. So, step up to the stove, embrace the alchemy, and prepare to elevate everything from your morning coffee to your evening Old Fashioned. Your palate—and your guests—will thank you for it.
